
To make VRS calls in Tive, you’ll complete a quick VRS registration right inside the app. The application is now scan-first — scan your ID and most of the form fills in for you.

Before you start
Have your government-issued ID or driver’s license ready. You’ll also confirm the last four digits of your SSN, which the FCC requires for VRS — see Why Tive Asks for Your SSN and ID for VRS.
Register for VRS
Open Tive and sign in. If you haven’t registered yet, Tive opens straight to VRS registration. (You can also tap Home and choose Register for VRS.)
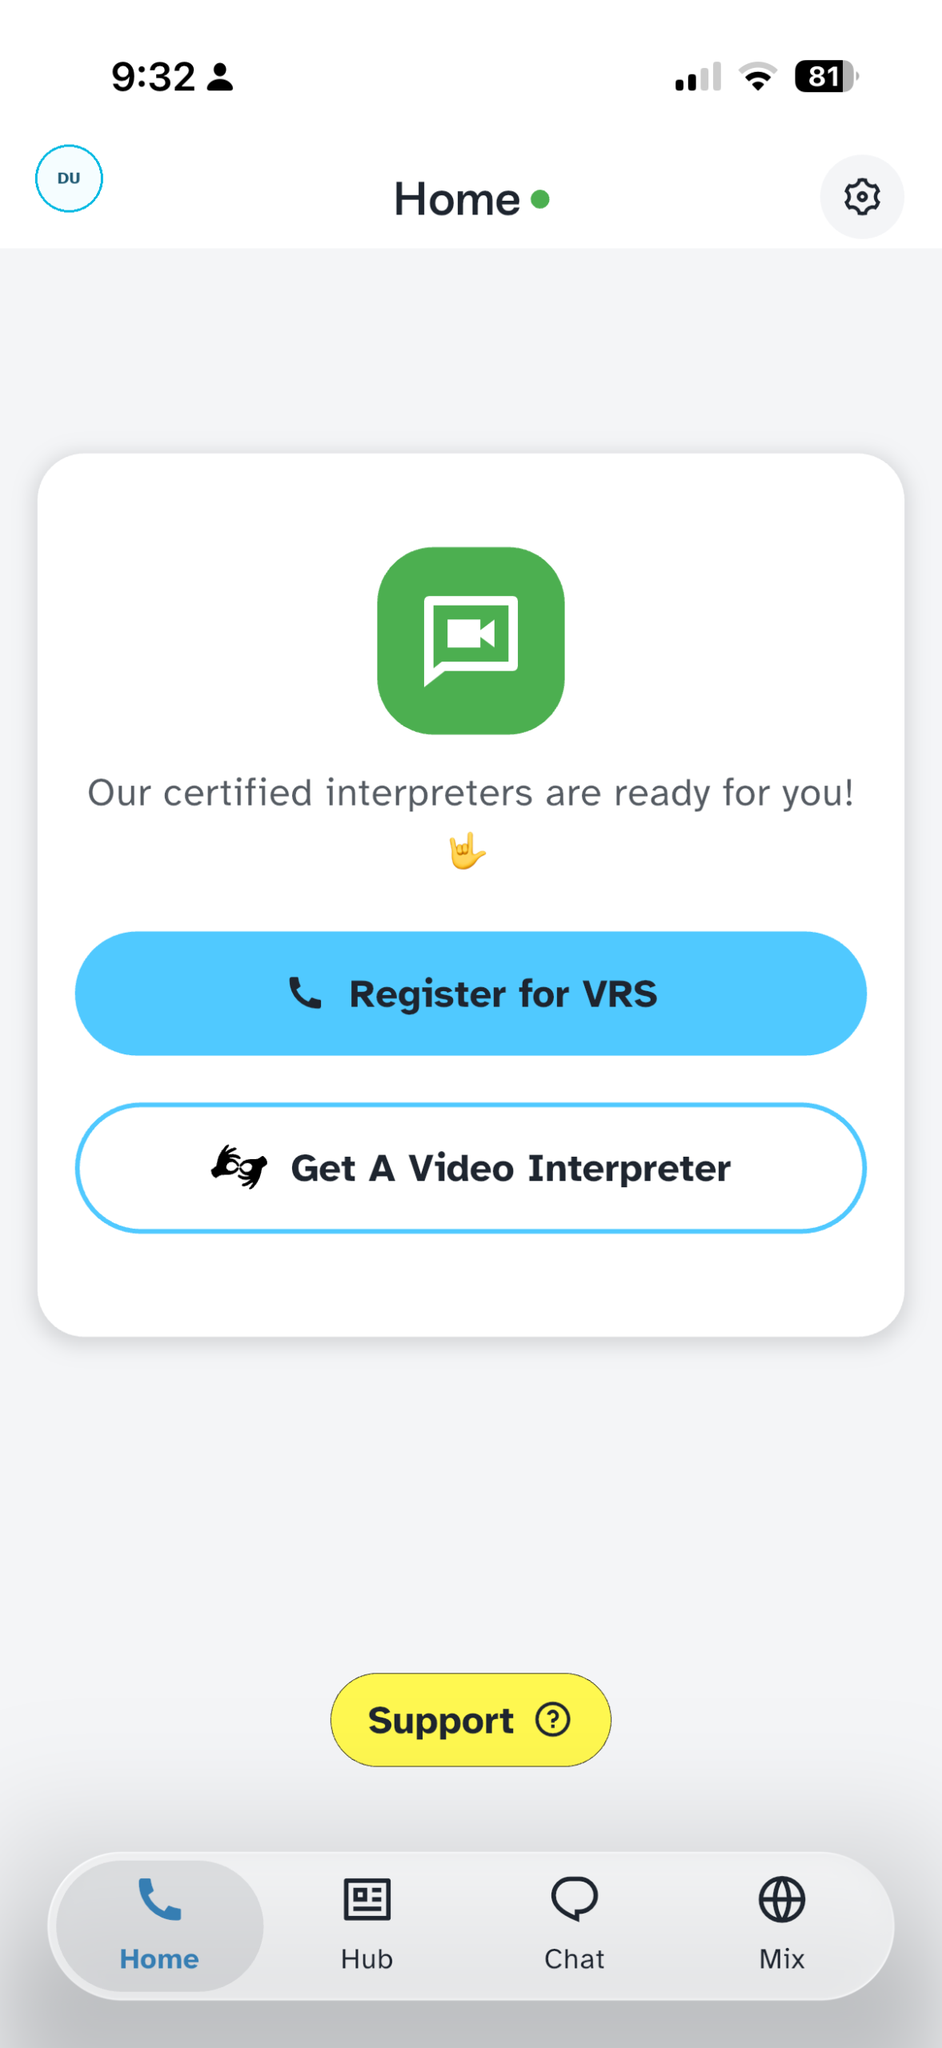
Home → Register for VRS.
Scan your ID. Tap Scan ID and scan the front of your ID or driver’s license. Tive fills in your first name, last name, address, and date of birth automatically. (Prefer to type? Choose manual entry and fill in the fields yourself instead.)
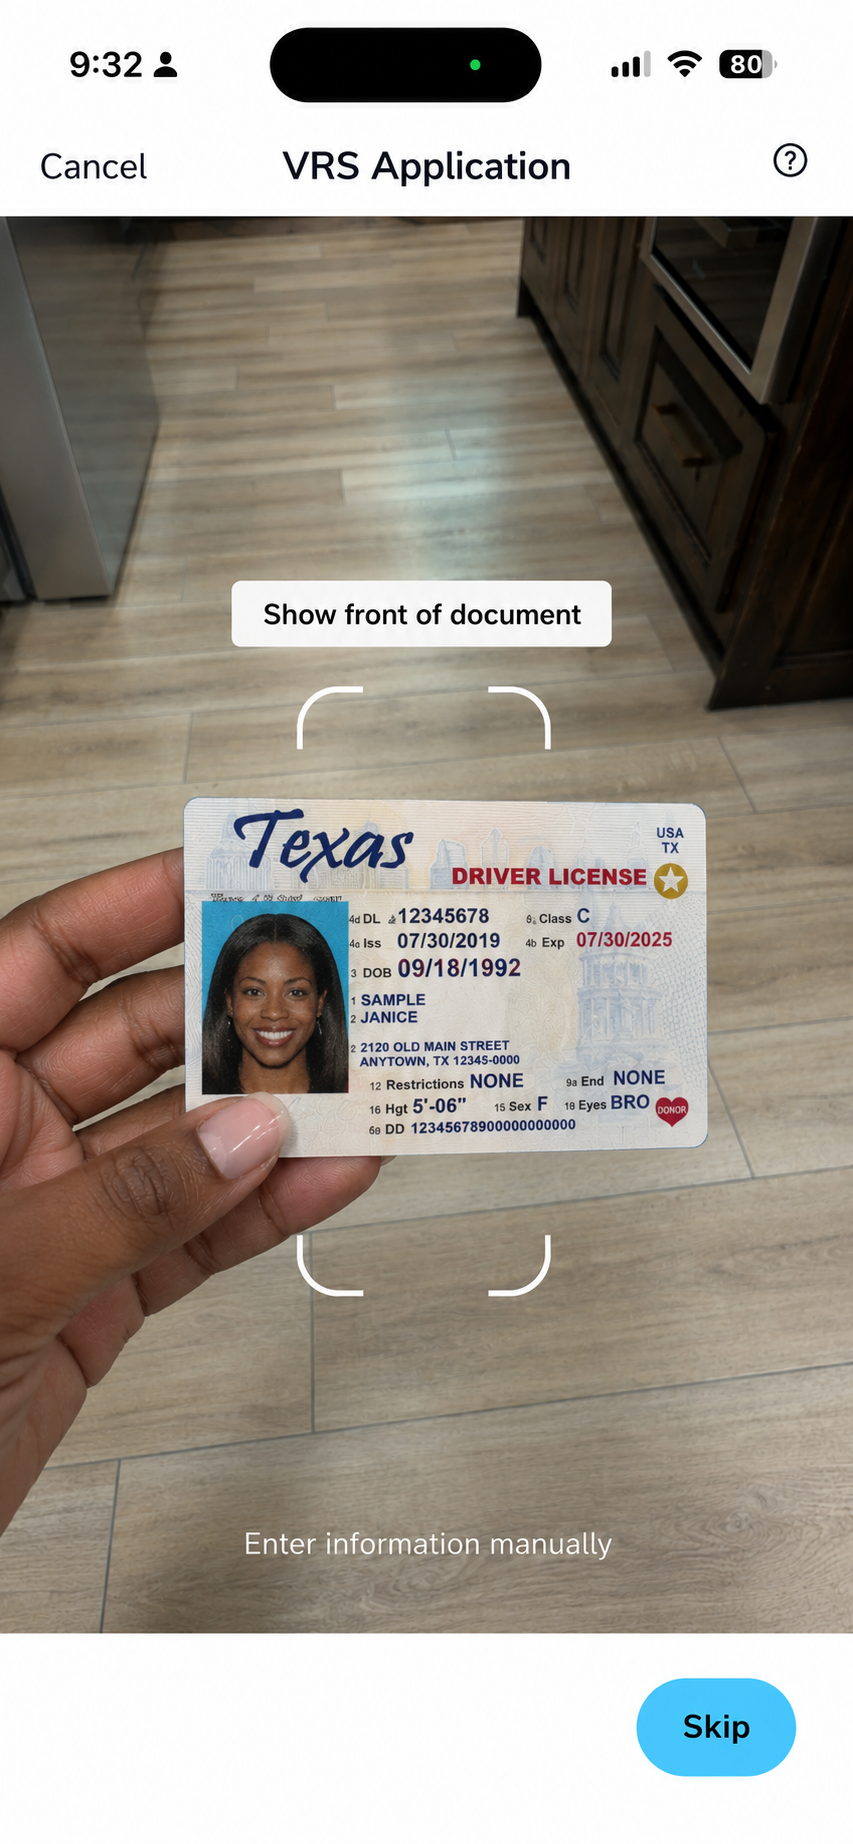
Scan your ID to auto-fill the application.
Enter the last four digits of your SSN.
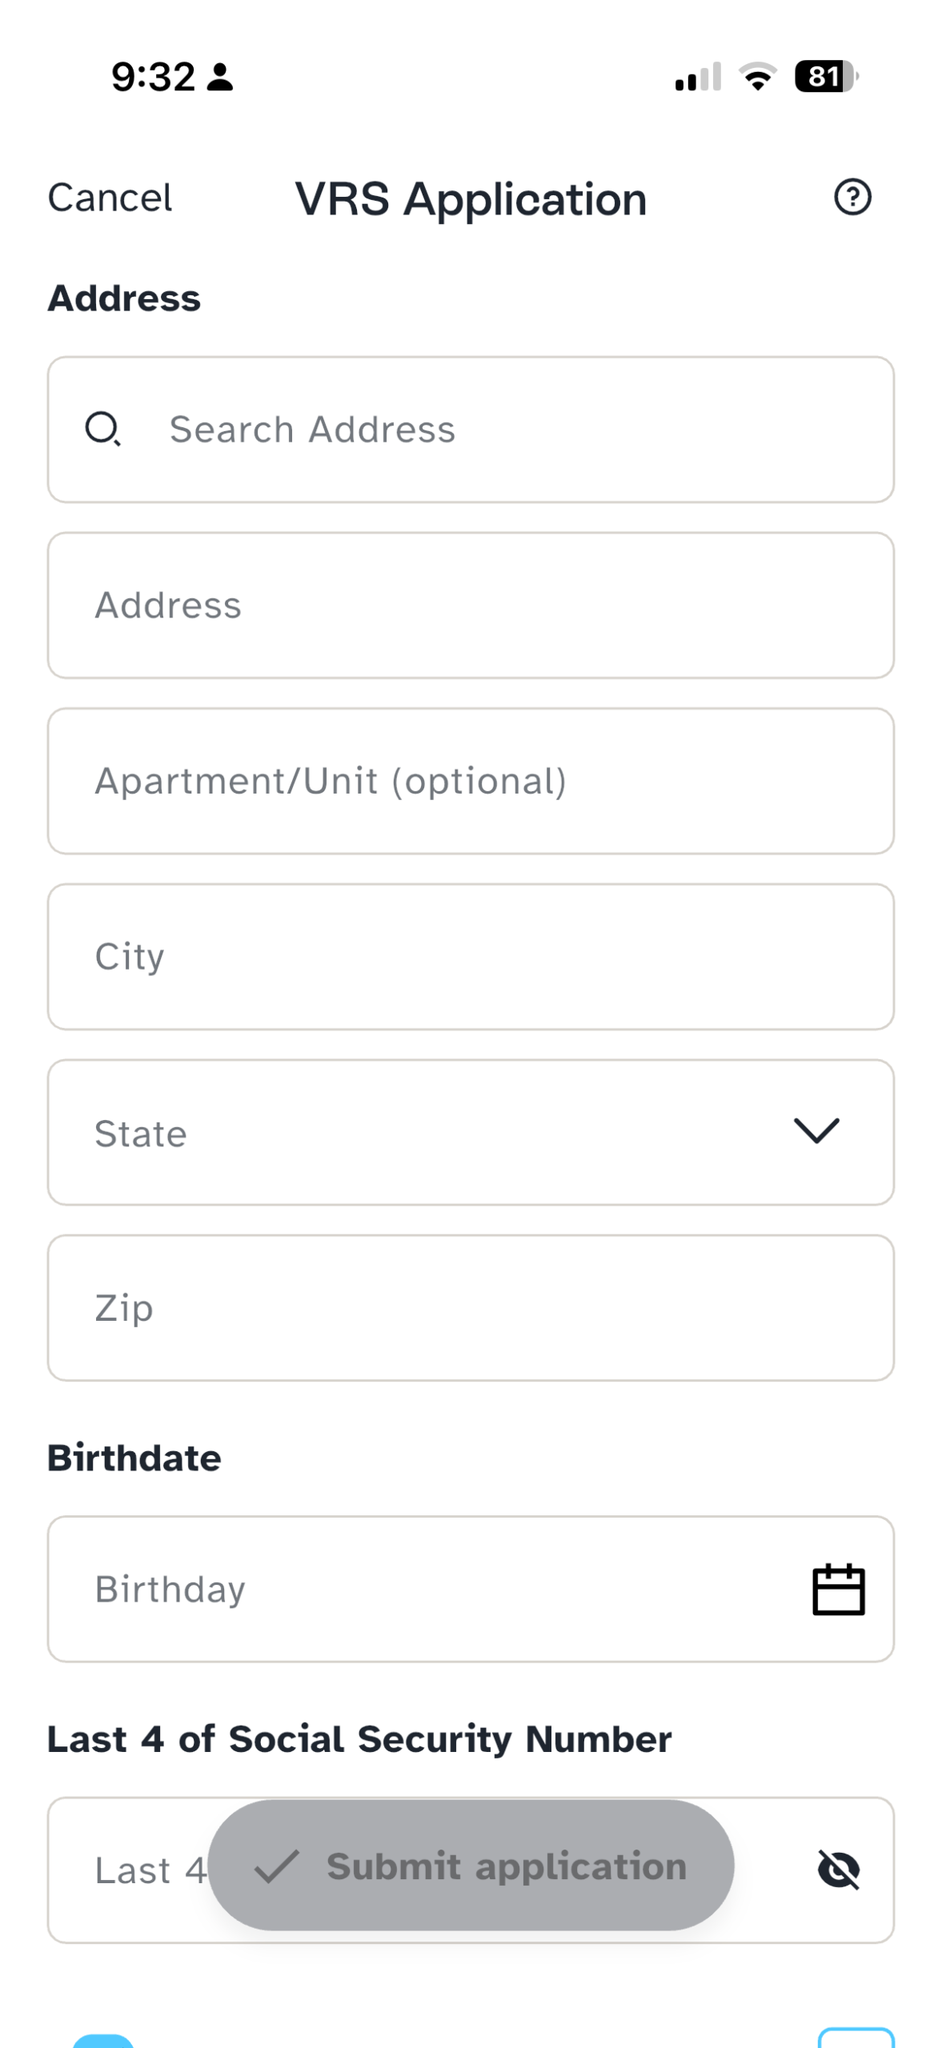
Confirm your address and the last 4 of your SSN.
Review the agreements. Confirm “I’m Deaf or Hard of Hearing” and “I agree to share my information.” Both are checked by default — tap the document icons to read each one.
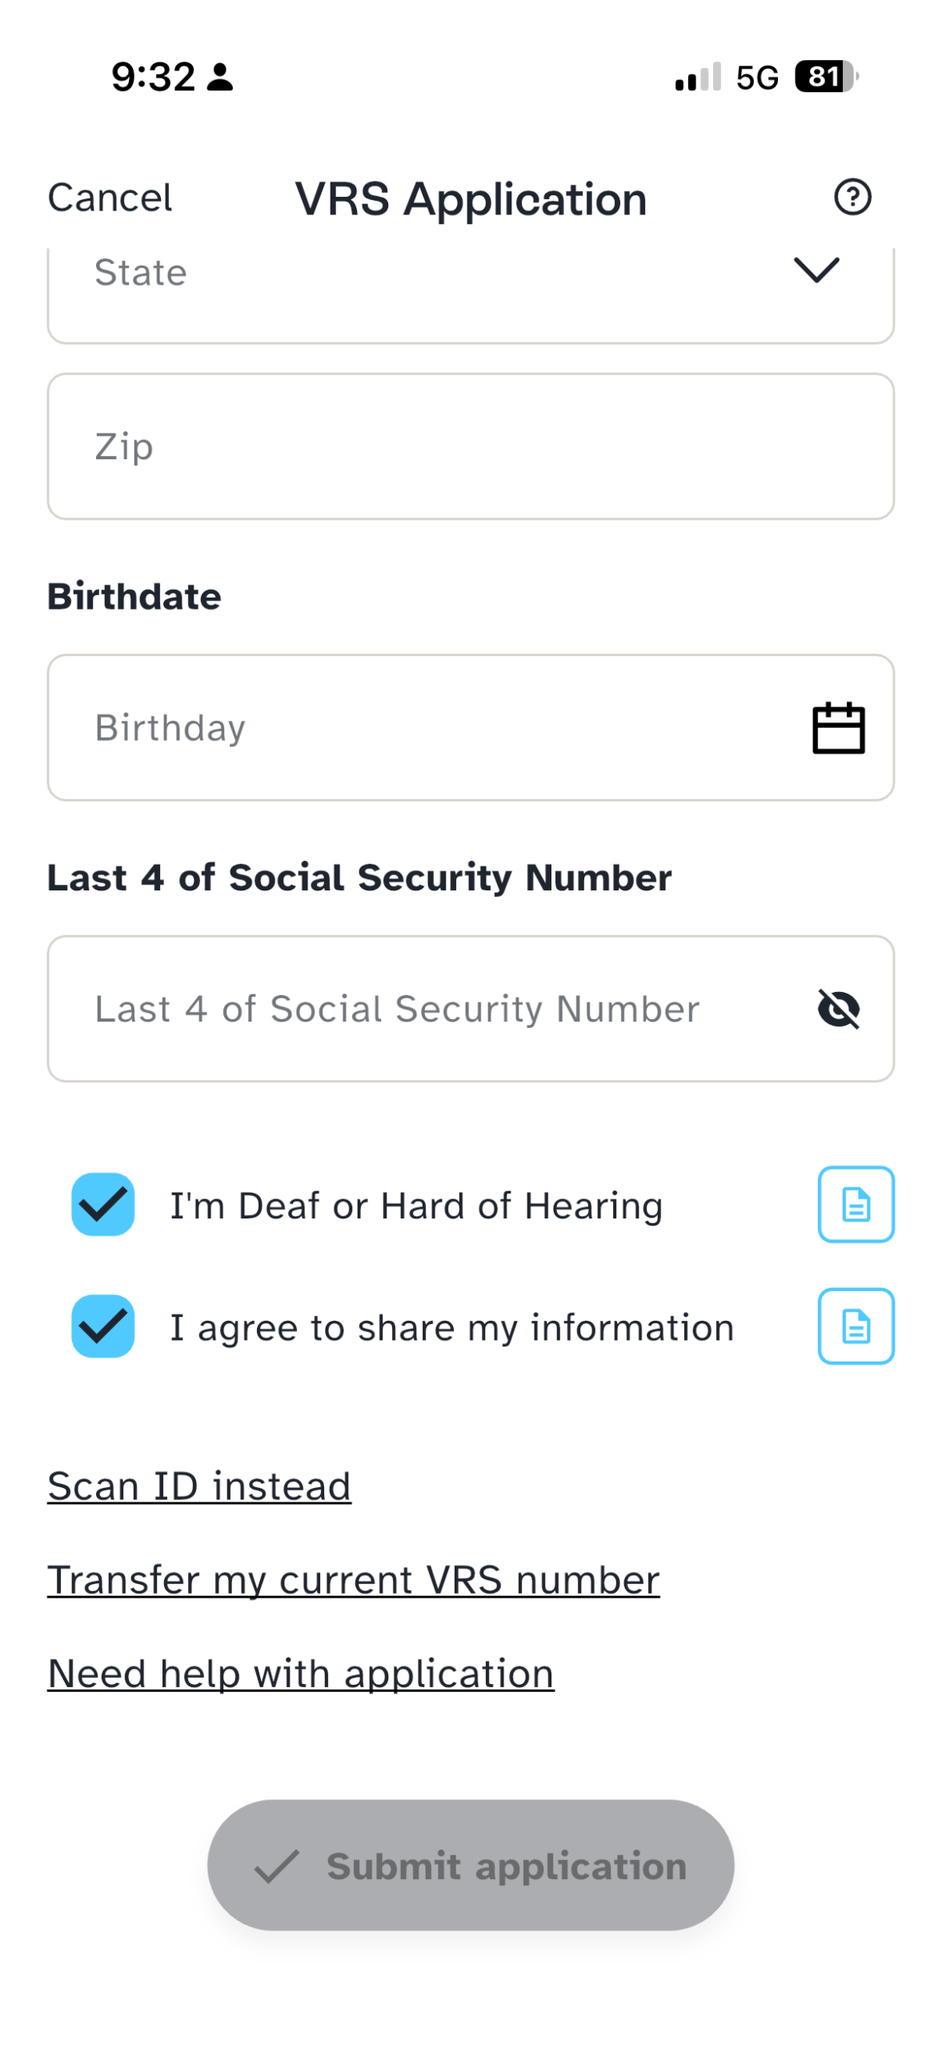
The agreements are pre-checked; tap the icons to read them.
Choose your number.
- New number (default): Tive assigns a number with an area code inside your ZIP code — there’s nothing to pick.
- Transfer my number: enter your current VRS number, select your provider, and complete the Letter of Authority.
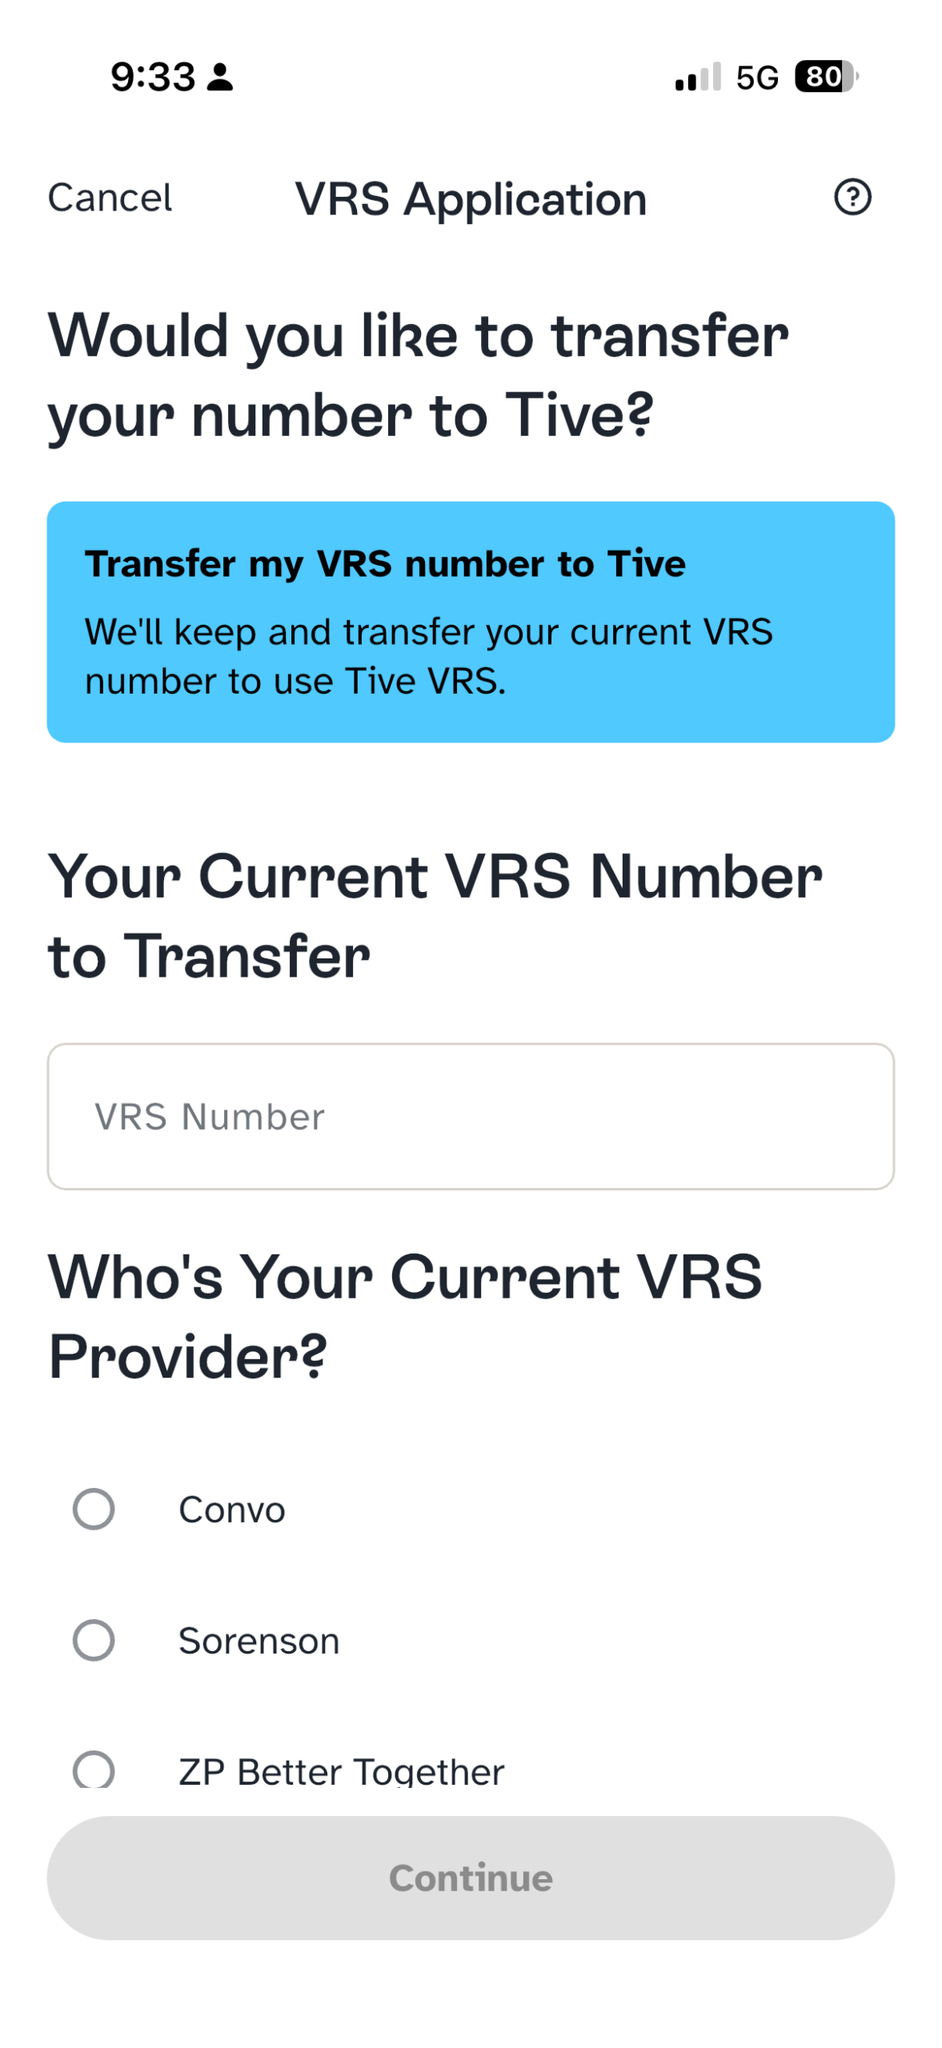
Keep your current number by choosing Transfer.
Tap Submit. The Submit button stays within reach as you scroll.


After you submit
Once you’re approved, Tive shows your status as In Service and opens straight to the dialpad so you can make a VRS call. You can track progress any time in How to Check Your VRS Application Status.

Editing your application
Logging out and back in won’t restart your registration. To make changes, tap the pencil icon to reopen your existing application for editing.

Need a hand? Contact Tive Support.